Protect your sewing machine with style using a free PDF pattern. These designs offer a practical and customizable way to create a dust-proof cover, perfect for DIY enthusiasts.
Overview of Sewing Machine Covers
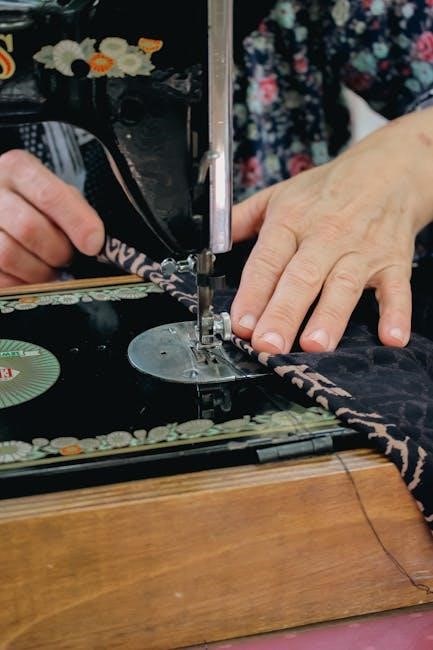
A sewing machine cover is a practical and stylish accessory designed to protect your machine from dust, scratches, and wear. Available in various designs, these covers can be simple or quilted, offering both functionality and aesthetic appeal. They are typically made from durable fabrics like cotton and may include features such as pockets for storing accessories. Covers come in different sizes to fit most sewing machines, ensuring a snug and protective fit. Whether you prefer a modern or vintage look, sewing machine covers are an excellent way to keep your device clean and extend its lifespan while adding a personal touch to your sewing space.
Why Use a Sewing Machine Cover?
A sewing machine cover is essential for protecting your device from dust, dirt, and scratches, which can damage its components over time. Dust buildup can interfere with the machine’s performance, leading to costly repairs. A cover also prevents wear and tear, keeping your machine looking new for years. Additionally, it adds a decorative touch, allowing you to customize the look of your sewing space. Using a cover ensures your machine stays clean and functional, making it a practical and stylish investment for any sewer. It’s a simple way to extend the life of your sewing machine while maintaining its efficiency and appearance.
Benefits of a Free PDF Pattern
A free PDF sewing machine cover pattern offers convenience and affordability. It allows you to download and print the design instantly, saving time and money. PDF patterns are often comprehensive, including step-by-step instructions and measurements, making them accessible to sewers of all skill levels. They also provide flexibility, enabling you to choose fabrics and customize the cover to suit your sewing machine and personal style. Many free PDF patterns are designed with beginner-friendly instructions, ensuring a smooth sewing experience. This makes creating a protective and stylish cover achievable for everyone, regardless of their sewing expertise.

How to Download and Access the Free Sewing Machine Cover Pattern
Accessing a free sewing machine cover pattern is simple. Visit trusted sewing blogs or platforms, subscribe to newsletters, and download the PDF directly. Some patterns may require a small fee or membership, while others are entirely free. Ensure your device has a PDF reader installed to view and print the pattern seamlessly.
Steps to Download the PDF Pattern
To download the free sewing machine cover pattern, visit trusted sewing blogs or platforms offering free PDF downloads. Click on the provided link or button, and follow the prompts to access the file. Some sites may require email sign-up for newsletter subscriptions to unlock the download. Once accessed, save the PDF to your device. Ensure you have a PDF reader installed to view and print the pattern. If the pattern is part of a membership library, log in or sign up to download. The process is quick and straightforward, allowing you to start your project immediately.
Popular Sources for Free Sewing Machine Cover Patterns
Free sewing machine cover patterns are widely available from reputable sources. Craft blogs, sewing websites, and platforms like Pinterest offer downloadable PDFs. Many bloggers share their designs as part of tutorials or newsletters. Websites specializing in sewing patterns often provide free access to these covers, sometimes requiring email sign-ups. Membership libraries, such as Sewing Resource Libraries, also offer free patterns to subscribers. Additionally, social media platforms and forums frequently share links to free downloadable patterns. These sources ensure you can easily find a design that suits your skill level and style preferences.
Printing and Preparing the Pattern
Print your free sewing machine cover pattern on standard-sized paper, ensuring the scale is correct. Most PDFs are designed to fit letter or A4 paper. Check printer settings to avoid scaling issues. Once printed, assemble the pattern pieces by arranging and taping them together, following the provided layout guide. Double-check measurements for accuracy. Use a ruler or measuring tape to ensure alignment. For larger patterns, consider using cardboard or a large table to lay out the pieces. Properly prepared patterns guarantee a smooth sewing process and a professional-looking cover.
Materials and Tools Needed
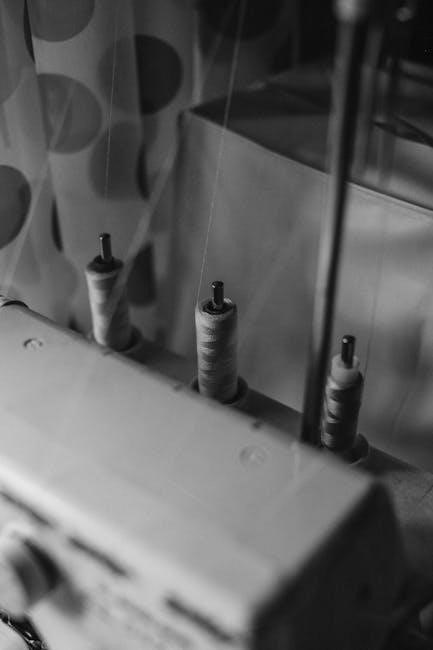
Cotton fabric, stabilizers, and binding are essential. Tools include scissors, sewing machine, ruler, pins, and iron. Ensure all materials are pre-washed for a professional finish.
Fabric Requirements for the Cover
Choose durable, medium-weight fabric like cotton or quilting material. Measure your sewing machine to determine fabric yardage, typically 1-2 yards. Consider using contrasting lining fabric for a polished look. Pre-wash fabric to ensure shrinkage is accounted for. For added stability, include interfacing or batting. Binding fabric or ribbon is optional for finishing seams. Select patterns or solids that match your sewing space decor. Ensure fabric is wide enough to wrap around the machine comfortably. Proper fabric selection ensures a snug, protective fit and a professional appearance for your DIY cover.
Additional Materials Like Binding and Stabilizers
Beyond fabric, consider adding stabilizers like flexible foam or interfacing for structure and durability. Binding, such as fabric strips or ribbon, finishes seams neatly. Optional notions include threads, zippers, or Velcro for closure. These materials enhance the cover’s functionality and appearance, ensuring a professional finish. Choose contrasting colors for binding to add a decorative touch. Stabilizers help maintain the cover’s shape, while binding prevents fraying. These additions are simple to incorporate and elevate your DIY project. Ensure all materials are compatible with your fabric choice for a cohesive and polished result.
Step-by-Step Sewing Instructions
Begin by cutting fabric pieces according to the pattern. Sew the lining and exterior separately, then assemble and attach binding for a polished finish.
Cutting Out the Fabric Pieces
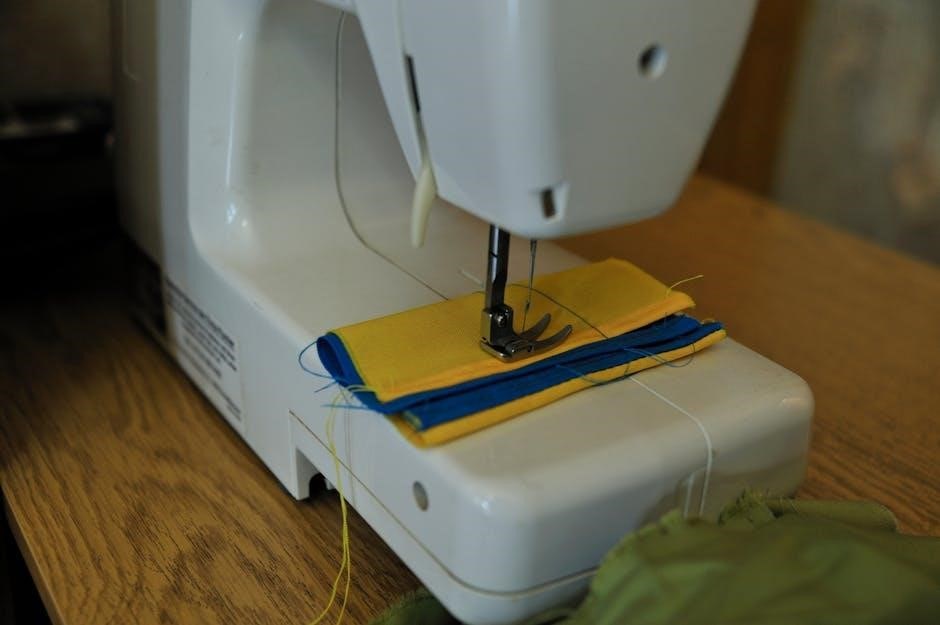
Cutting fabric accurately is crucial for a professional finish. Use the PDF pattern to trace and cut two main pieces: one for the exterior and one for the lining. Ensure fabric is smooth and flat on a stable surface. Cut slowly, following pattern lines precisely. For stability, consider adding a layer of flexible foam stabilizer. Use sharp scissors or a rotary cutter for clean edges. Double-check measurements to ensure a proper fit. Accurate cutting ensures the cover will drape smoothly and protect your machine effectively. This step sets the foundation for a successful sewing project.
Sewing the Lining and Exterior
Place the exterior and lining fabric pieces with wrong sides facing out. Sew the sides and top edges together, leaving a small opening to turn the cover right side out. Use a 1/2-inch seam allowance and backstitch at the beginning and end for durability. Press seams flat with an iron to ensure a crisp finish. Carefully turn the cover right side out through the opening, then press again for a polished look. Topstitch around the edges for a professional appearance. This step ensures the cover is sturdy and neatly constructed, ready for the next stage of assembly.
Attaching Binding for a Finished Look
Cut binding strips to match your cover’s edges. Sew the binding to the exterior and lining edges, folding it over twice to hide raw edges. Press the binding for a crisp finish, ensuring it lies flat. Topstitch along the binding’s edge for a polished appearance. This step adds durability and prevents fraying. Choose a contrasting fabric for a decorative touch or match it to your cover for a seamless look. Binding completes the cover, giving it a professional finish and protecting the seams from wear. It’s the perfect final detail to enhance both functionality and style.
Customizing Your Sewing Machine Cover
Personalize your sewing machine cover with unique fabrics, colors, and embellishments. Add pockets, appliques, or quilting for a tailored look that suits your sewing style perfectly.
Choosing Colors and Patterns
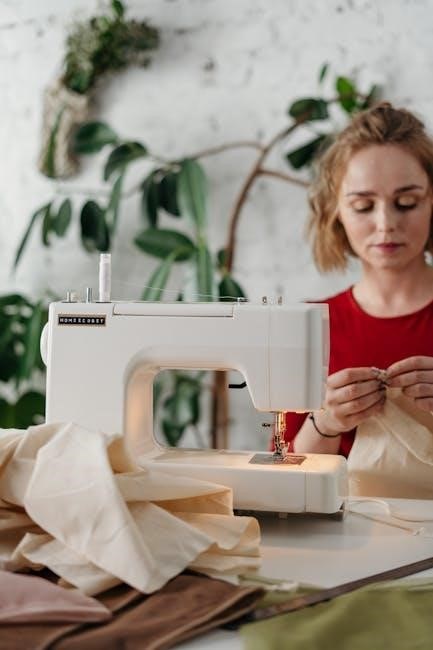
Selecting the right colors and patterns for your sewing machine cover adds a personal touch. Opt for vibrant hues or subtle tones to match your sewing room decor. Consider seasonal themes or bold designs for a unique look. Ensure the fabric complements your machine’s style while offering protection. Mixing patterns like polka dots with solids can create a visually appealing cover. Choose breathable fabrics like cotton for durability and a soft finish. Your selection will make the cover both functional and aesthetically pleasing, reflecting your personal style perfectly.
Adding Pockets or Other Features
Enhance your sewing machine cover by adding pockets for storing small accessories like threads, needles, or bobbins. Incorporate a zippered compartment for secure storage or use elastic pockets for easy access. You can also add a velcro strip for attaching additional tools. Personalize further with appliqué designs or embroidery for a unique touch. Optional features like a handle or a hanging loop improve functionality. These additions not only organize your workspace but also make the cover more versatile and practical, ensuring everything you need is within easy reach while sewing.
Creating a sewing machine cover is a simple yet rewarding project. With a free PDF pattern, you can craft a protective, stylish cover that keeps your machine dust-free and adds a personal touch to your sewing space.
Final Tips for a Professional Finish
For a polished look, press seams thoroughly and topstitch edges. Use high-quality fabric and precise cutting to ensure accuracy. Bind edges neatly, folding fabric for a crisp finish. Add stabilizers for structure and durability. Consider quilting for extra texture and visual appeal. Ensure the cover fits snugly, adjusting patterns as needed. Use matching threads to blend stitches seamlessly. Finally, inspect and trim loose threads for a clean, professional result that protects your machine in style;
Maintenance and Care of Your Sewing Machine Cover
To keep your sewing machine cover looking its best, regularly vacuum or wipe away dust. Spot clean stains with a damp cloth, avoiding harsh chemicals. For deeper cleaning, machine wash on a gentle cycle using cold water and mild detergent. Allow the cover to air dry to prevent shrinkage or distortion. Avoid bleaching or ironing, as this may damage fabrics or stabilizers. Store the cover in a dry, cool place when not in use. With proper care, your cover will provide long-lasting protection and maintain its stylish appearance.