Sewing presser feet are essential attachments for sewing machines, designed to help guide fabric and maintain control during stitching. They come in various types, each serving specific purposes, such as standard, straight stitch, zipper, and specialized feet. Understanding and using the right presser foot can significantly improve the quality and precision of your sewing projects. They are a key tool for achieving professional results and exploring creative techniques in sewing.
Types of Presser Feet
There are various types of sewing presser feet available, each designed for specific tasks. Common types include the Standard, Straight Stitch, Zipper, and specialized presser feet. Using the right one enhances sewing quality and versatility.
Standard or Zigzag Foot
The Standard or Zigzag Foot is the most versatile and commonly used presser foot. It is ideal for general sewing tasks and works well with both straight and zigzag stitches. Designed to accommodate various fabric types, it provides excellent control and stability, ensuring smooth fabric movement. This foot is a must-have for beginners, as it supports a wide range of sewing projects, from basic repairs to complex designs. Its compatibility with different stitch types makes it a go-to choice for many sewists. Whether you’re working on quilting, dressmaking, or home decor, the Standard Foot delivers consistent results and is a reliable workhorse for everyday sewing needs.
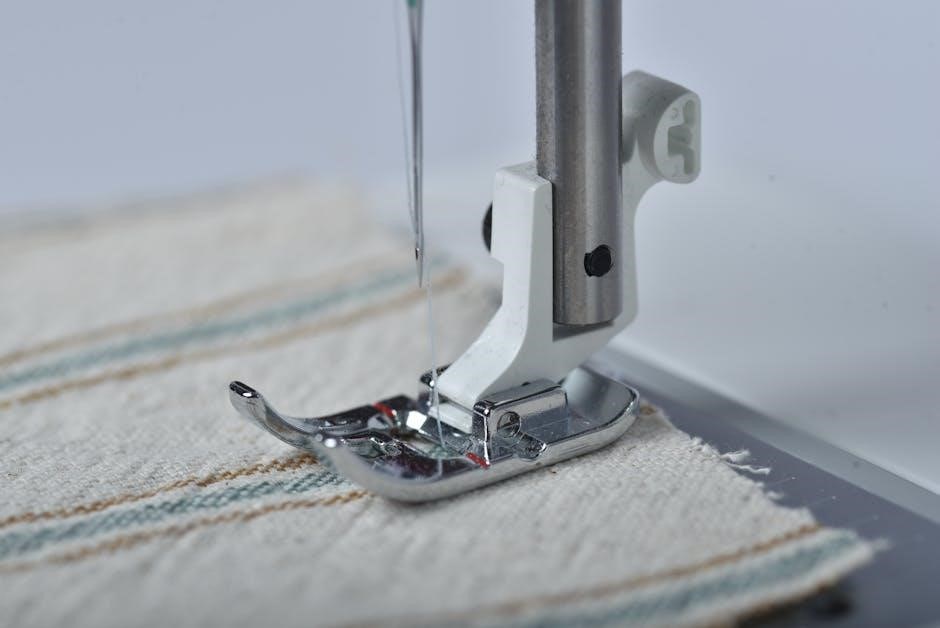
Straight Stitch Foot
The Straight Stitch Foot is specifically designed for projects that require precise straight stitching. Unlike the Standard Foot, it does not accommodate zigzag stitches, making it ideal for tasks where fabric stability is crucial. This foot is particularly useful for sewing delicate fabrics, leather, or multiple layers, as it prevents the fabric from slipping or stretching. Its narrow design allows for greater control, especially when working with straight-line seams or topstitching. The Straight Stitch Foot is a favorite among quilters and those working on heavy-duty projects, as it ensures accuracy and maintains the integrity of the fabric. It is an essential tool for achieving clean, professional-looking straight seams in various sewing applications.
Zipper Foot
The Zipper Foot is a specialized presser foot designed for sewing zippers, piping, and other narrow trims. Its unique design features a groove on the underside, allowing the foot to glide smoothly over zipper teeth without catching. This makes it ideal for installing zippers in garments, bags, or home decor projects. The Zipper Foot also works well for attaching ribbons and other decorative elements, ensuring they lie flat and even. Its ability to handle bulky materials and tight spaces makes it a must-have for any sewer looking to add professional-looking zippers or embellishments to their creations. By guiding the fabric precisely, the Zipper Foot helps achieve neat, consistent results every time.
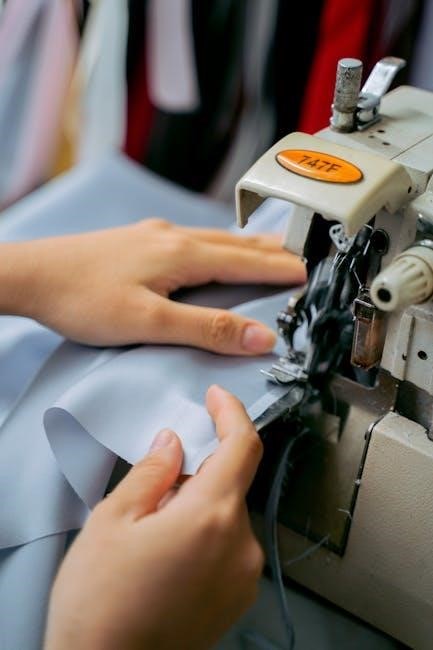
Other Specialized Feet
Beyond the standard and zipper feet, there are numerous specialized presser feet designed for specific tasks. The quilting foot, for example, is ideal for managing thick layers of fabric and batting when quilting. The embroidery foot allows for smooth fabric movement during decorative stitching, while the blind hem foot is perfect for creating nearly invisible hems. Additionally, there are feet designed for sewing leather, vinyl, and other heavy-duty materials, as well as feet for hemming, gathering, and attaching lace or ribbons. Each specialized foot is tailored to enhance precision and ease for particular sewing techniques, making them invaluable for achieving professional-looking results in a wide range of projects.
Using Specialized Sewing Feet
Specialized sewing feet enhance stitching precision and versatility. From quilting to embroidery, each foot is designed for specific tasks, ensuring smooth fabric movement and professional results. Always use seam guides and adjust settings for optimal performance.
How to Attach and Detach Presser Feet
Attaching and detaching presser feet is a straightforward process. First, ensure your sewing machine is turned off and the needle is in the down position. Locate the presser foot lever, usually found at the back or side of the machine. Lift the lever to release the current foot, then align the new foot with the shank. Gently push it into place until it clicks. To detach, lower the lever and carefully pull the foot away. Always handle with care to avoid damaging the shank or the machine. This ensures smooth transitions when switching between different sewing tasks and feet.
Tips for Using Presser Feet Effectively
To use presser feet effectively, always choose the right foot for your specific task. Ensure the foot is securely attached to maintain control over the fabric. For consistent results, align the fabric edge with the foot’s guide or markings. When sewing delicate or thick fabrics, adjust the presser foot pressure if your machine allows it. Keep the foot clean and free from lint to prevent drag or uneven stitching. Regularly check the foot’s alignment with the needle to avoid missed stitches. Practice on scrap fabric to get a feel for how the foot interacts with different materials. By following these tips, you can achieve professional-looking seams and expand your sewing capabilities.
Common Mistakes to Avoid
One common mistake is using the wrong presser foot for the task, which can lead to uneven stitching or fabric slippage. Forgetting to lower the presser foot before sewing can result in the fabric not being held securely, causing errors. Additionally, neglecting to align the fabric edge with the foot’s guide can lead to inconsistent seam allowances. Using a damaged or worn-out presser foot can also affect stitching quality. Another mistake is not adjusting the presser foot pressure for different fabric thicknesses, which may cause bunching or dragging. Lastly, failing to clean lint from the presser foot can reduce its effectiveness. Avoiding these mistakes ensures smoother sewing and better results.
Maintaining Consistent Seam Allowance
Maintaining consistent seam allowance is crucial for professional results. Use the presser foot’s edge as a guide to ensure even alignment and uniform stitching throughout your project.
Measuring Seam Allowance with Your Presser Foot
Measuring seam allowance with your presser foot ensures accuracy in stitching. Align the fabric edge with the foot’s right side, using it as a guide for consistent seams. This method helps maintain uniformity, especially when working with patterns or multiple fabric pieces. By keeping the fabric edge aligned, you can achieve precise stitching without constant readjustments. This technique is particularly useful for beginners, as it simplifies the process of maintaining even seam allowances. Proper alignment prevents uneven hems and ensures professional-looking results in various sewing projects.
Adjusting Your Technique for Accuracy
Adjusting your sewing technique is crucial for achieving precise results. Keep fabric taut but not stretched, and maintain a steady pace to avoid uneven stitches. Use the presser foot as a guide, ensuring the fabric aligns with the edge of the foot. For consistent seam allowances, keep the fabric edge flush with the foot’s right side. If needed, slightly adjust the foot’s position to accommodate different fabric thicknesses or textures. Properly threading the machine and using the correct needle size also enhance accuracy. By refining these techniques, you can achieve professional-grade stitching and maintain consistency in your projects. Practice on scrap fabric to perfect your approach before working on final pieces.

Sewing Without a Presser Foot
Sewing without a presser foot is possible for specific tasks, like decorative stitching or free-motion quilting. This technique requires careful fabric control and machine adjustment. Use a Teflon foot or adjust the machine’s tension to manage fabric movement. Keep the fabric taut but not stretched, and use your hands to guide it smoothly. This method allows for creative stitching but demands precision and practice. It’s ideal for embellishments or unique textures. Always ensure the machine is set up correctly, and consider using a walking foot for heavy fabrics. Avoid this method for straight seams or dense materials, as accuracy may suffer.
When and How to Sew Without a Presser Foot
Sewing without a presser foot is suitable for specific tasks, such as decorative stitching or free-motion quilting. It allows for greater creativity and flexibility but requires skill. Begin by ensuring the needle is down and the fabric is secure. Use a Teflon foot or adjust the machine’s tension to manage fabric movement. Guide the fabric with your hands, keeping it taut but not stretched. This technique is ideal for embellishments or unique textures. However, it’s not recommended for straight seams or dense materials, as accuracy may suffer. Practice on scrap fabric first to refine your control. Always ensure the machine is set up correctly, and consider using a walking foot for heavy fabrics to maintain stability.
Decorative Stitches and Their Requirements
Decorative stitches are a creative way to enhance fabric with unique patterns and textures. Many sewing machines offer built-in decorative stitch options, but their successful execution often requires specific settings. Typically, decorative stitching is done without a presser foot, allowing free fabric movement. To achieve consistent results, ensure the stitch length and width are appropriately adjusted. Use a stable needle and guide the fabric smoothly. Practice on scrap fabric first to perfect the technique. For intricate designs, consider using a Teflon foot or similar tool to manage fabric flow. This method is ideal for embellishments but not recommended for structural seams. Always refer to your machine’s manual for specific decorative stitch guidelines.
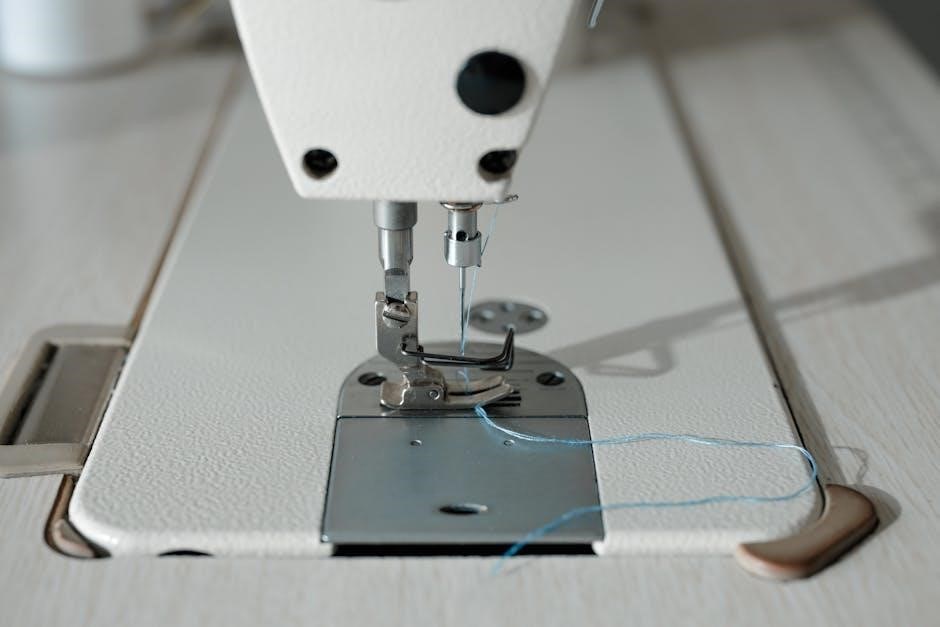
Basic Parts of a Sewing Machine
Basic parts of a sewing machine include the presser foot, shank, bobbin, and needle. The shank connects the presser foot to the machine, ensuring proper stitching alignment and control.
Understanding the Shank and Toe of the Presser Foot
The shank is the metal piece that attaches the presser foot to the sewing machine, ensuring stability and alignment. The toe refers to the front edge of the foot, which guides fabric. Together, they ensure even pressure and accurate stitching. The shank’s design varies, with snap-on or screw-on types, each fitting specific machines. Proper alignment of the shank and toe is crucial for consistent seam quality. Understanding these components helps in choosing the right foot for different projects and troubleshooting common sewing issues effectively. Regular maintenance of these parts ensures optimal performance and longevity of the presser foot and machine.
Traveling with Your Sewing Machine
Traveling with your sewing machine requires careful preparation. Always lower the presser foot and needle, and consider using a protective case or padding for safe transport.
Transporting Your Machine Safely
Transporting your sewing machine safely is crucial to prevent damage. Always ensure the presser foot and needle are in the down position before moving the machine. Use a sturdy, padded case or bag to protect it during travel. Remove any loose attachments, such as presser feet or bobbins, and store them separately to avoid loss or damage. Keep the machine upright to prevent oil from leaking or components from shifting. Consider adding extra cushioning around the machine for added protection, especially during long trips or shipping. Proper handling ensures your machine remains functional and ready for your next sewing project.